Using Hyper-V for Building a Private Cloud - Part 5
In Part 4 of the series, we explored the topic of how to normalize deployment image and installation of Windows. Now, I continue the series with Deploying System Center Virtual Machine Manager. Virtualization is a transformational technology in the IT world that supports the cloud computing wave. It offers a number of benefits like you can cut-down the amount of physical servers you have, be energy-efficient, and execute high availability solutions at fraction of cost.
However, our point is to build a private cloud infrastructure that will be the base for generating your own cloud. In the previous series, we created deployment images that were basically focused on generating new virtual machines, but to put it into use, we need private cloud infrastructure. This article will focus on creating that infrastructure which is required to generate new virtual machines.
How to install System Center Virtual Machine Manager?
System Centre Virtual Machine Manager delivers a plethora of benefits that takes you a step ahead in building your cloud. With SCVMM, you can bring your servers altogether into host groups and administer more than one host at a go. In addition, you will also find a library service wherein you can hold template images, ISO images and script that can be further used to deploy to suit various needs. With all of these essential features, we can go on and build cloud.
Now, I will now explain the process of Installing System Center Virtual Machine Manager:
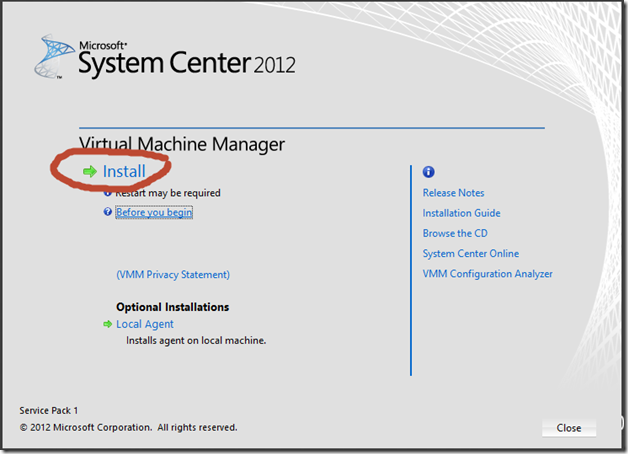
Step 1
To install the SCVMM server, you need to insert the SCVMM installation media.
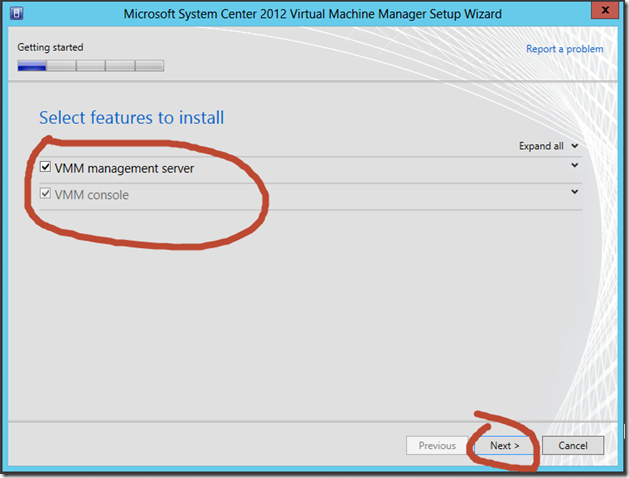
Step 2:
Choose the VMM Management link on the screen and click Next.
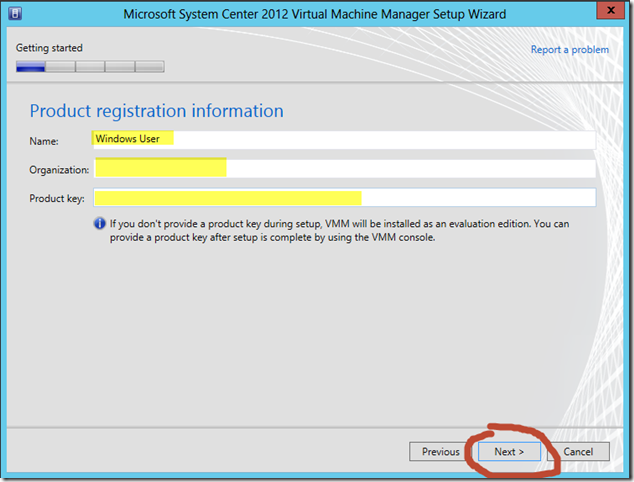
Step 3:
Enter the correct details for your organization and click Next.
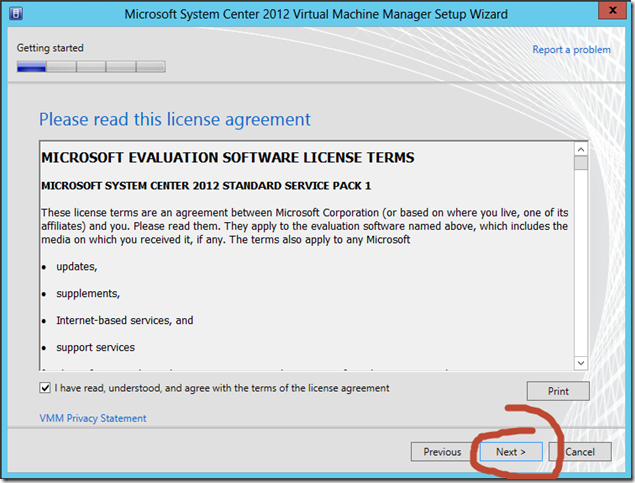
Step 4:
Then accept the agreement license and click Next.
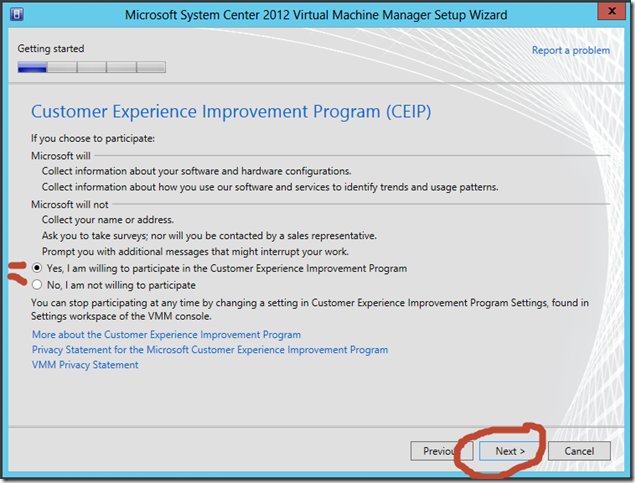
Step 5:
In this page, you will find the Customer Experience Improvement Program. If you expect to participate then choose Yes, or else select the No option and click Next.
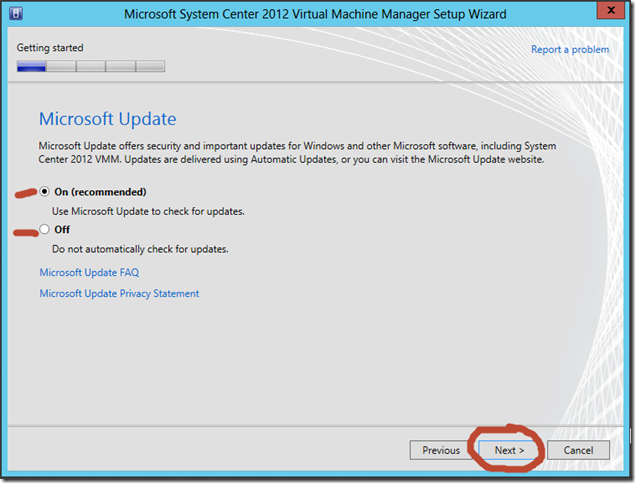
Step 6:
In the next page, you will find a screen with the update option. Make your choice and click Next.
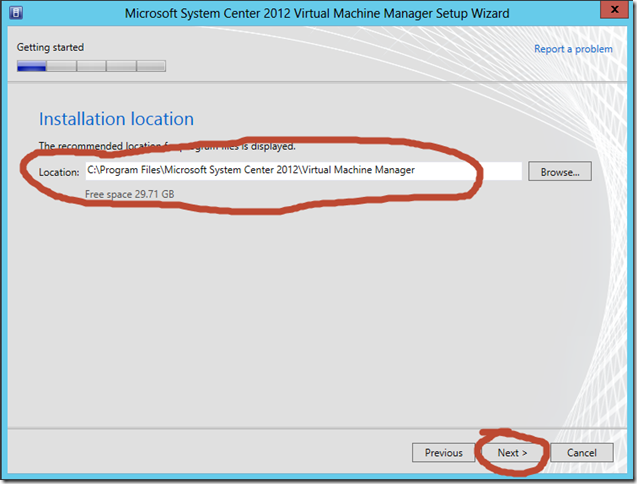
Step 7:
In this page, you have to mention the installation location. Enter it and then click Next.
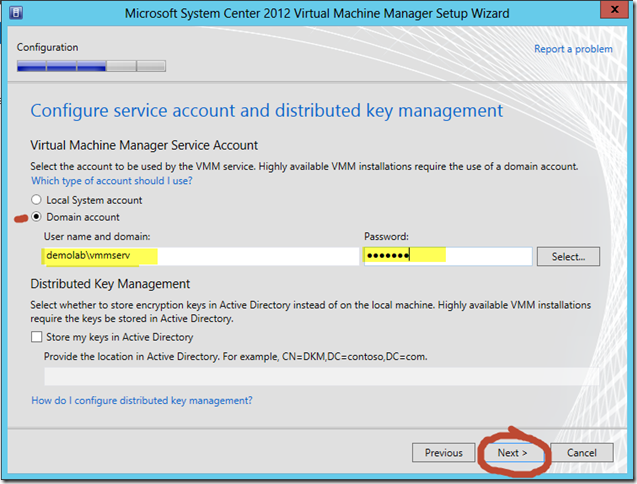
Step 8:
Now, you will have to select your database server that you will be using for the installation purpose. Enter the domain user and password that will let you access the SQL Server.
Step 9:
You will now be prompted to the library configuration page wherein you will find two option which is to create a new library share or using the existing one. The Set up by default attempts to create a new library share, but since we already have a deployment share that we created earlier for the deployment workbench, you can go on to choose Use an existing library share.
Step 10:
Specify the share for your VM library and click Next. In the Port Configuration page, accept the defaults and click Next.
Step 11:
Now, take your time to review your Installation Summary and then click Install.
Step 12:
After the installation, click Close.
Installing the Administrator Console
Step 1:
Insert your SCVMM installation media and then select the option VMM Administrator Console from the page. Next, you will find a deployment wizard screen.
Step 2:
Go ahead and accept the license agreement. Now, use the default options to install the console.
Step 3:
Enter your credentials that we created previously in the process to connect to the VMM server that completes the process.
The installation has been completed and in the Part 6, we will continue with further procedure.