Using Hyper-V for Building a Private Cloud - Part 3
The previous article was all about extracting the content of the Windows Installation Media for the purpose of creating a deployment images. In addition, I also created the two task sequences that are completely identical. Now, I will be explaining the steps to modify the Hyper-V task sequence that we can probably use to deploy the Hyper-V servers.
Steps to Modify the Hyper-V Task Sequence
Step 1:
Open the deployment workbench and navigate through the console tree to Deployment Workbench -> Deployment Shares -> MDT Deployment Share -> Task Sequence -> OS Install. Now, right click the task sequence that you created in the previous section and then select Properties.
Step 2:
In the properties sheet, select Task Sequence tab and this tab can be used to modify the existing task sequence.
Step 3:
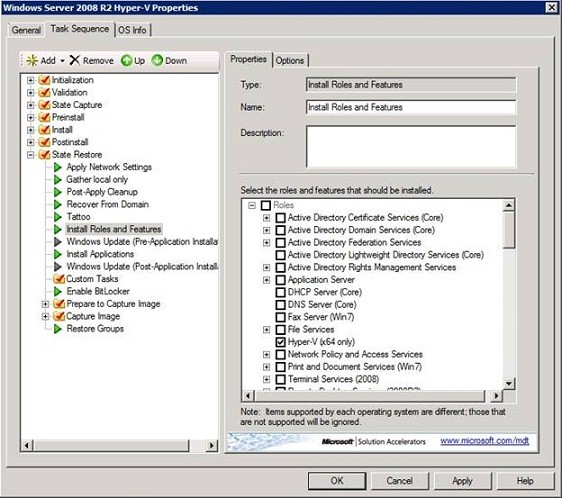
Since we are creating a Hyper-V Server, we will need to install the Hyper-V server role. To proceed, select the Tattoo option from the existing task sequence and then choose the Roles. The panel will display a series of options that can be installed. Select the Hyper-V (c64 Only) and install the Hyper-V role. Refer the image below.
Steps to Updating the Deployment Share
If you want the Task Sequence that you created to function properly, you will have to upgrade the deployment share. Here, I will explain the process to update the share.
Step 1:
Select Deployment Workbench -> Deployment Share -> MDT Deployment Share. Then, right click on the MDT Deployment Share node and choose Update Deployment Share.
Step 2:
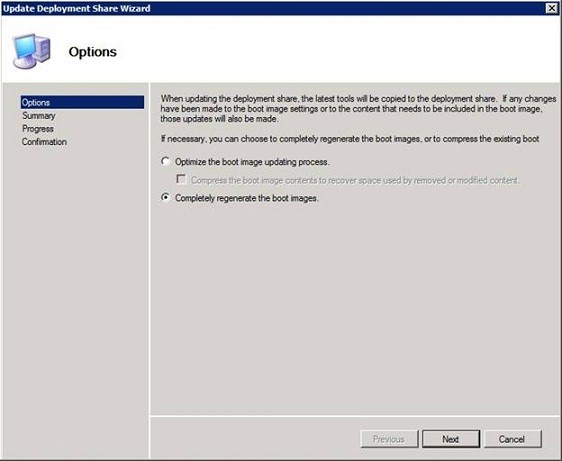
In the next wizard page, you will find two options- ‘Optimize the boot image updating process’ and ‘Completely regenerate the boot images.’ Choose the second option, as you can see in the image below.
Step 3:
Click Next, and the action you have chosen will be confirmed. Again click Next, and the step will create deployment images.
Steps to Installing the Windows Deployment Services
The next step is to install the Windows Deployment Services onto the server that is running the Deployment Workbench. Here are the steps:
Step 1:
Open the Server Manager and select the Roles nodes. Click ‘Add Roles’ on the startup screen, click next and then select the option Windows Deployment Services.
Step 2:
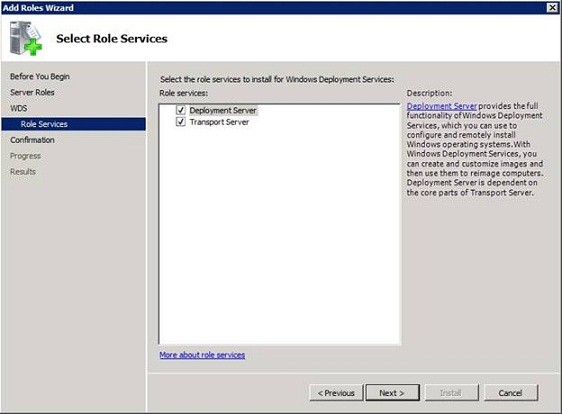
In the next screen, you will find the role services that you need to install, which are Deployment Server and Transport Server. It is suggested to select both the options as shown in the image below.
Step 3:
To complete the procedure, click next and then Install. Now, the Windows will install the Deployment Services. Click on Close, after the process is completed.
Steps to Configure Windows Deployment Services
Now that you have installed the Windows Deployment Services, it is the time to configure it. Before you start, make sure you are a Domain Administrator.
Step 1:
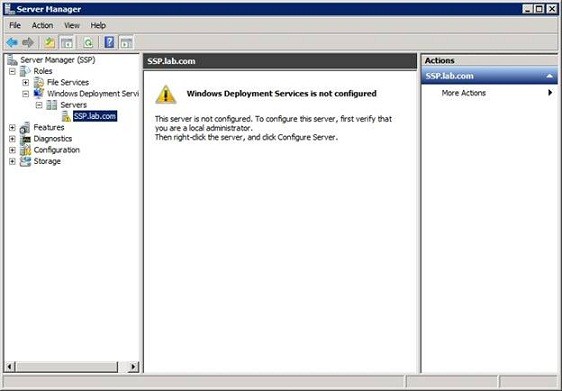
Go to Server Manager to Roles -> Windows Deployment Services and your server as shown in the image. If there is no server listed in the Server container, then right click on the container and go ahead to Add Server.
Step 2:
Right click on the listing for your server and select Configure Server. When the configuration begins, click Next. The next page will provide a set of instructions. Follow it.
Step 3:
When the configuration completes, you will find a screen asking if you want to add images to the Windows Deployment Services. Clear it and then click Finish to complete the process.
Steps to adding images to Windows Deployment Services
The configuration process has been completed and now, we are moving to adding some images to Windows Deployment Services.
Step 1:
Go to Server Manager to Roles -> Windows Deployment Services -> Servers -> your server -> Boot Images.
Step 2:
Right click on the Boot Images option and choose the Add Boot Image command.
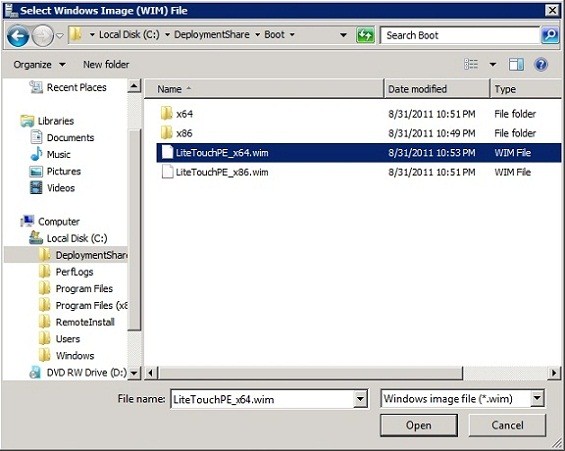
Step 3:
Enter the location of the Windows Image that you wish to add. Click the Browse button and then open Deployment Share folder that you created through the Deployment Workbench. As you can see in the image below the selected WIM file, LiteTouchPE_x64 is the file that is to be imported. Similarly, select the option and click OK.
Step 4:
Click Next and enter a name for the image. When you are done with it, click Next a couple of times and the image will be imported. Once completed, click Finish.
Till now, we are done with creating a boot image that can be deployed. However, the process is way too long to use the virtual technique to generate a private cloud server. I will probably show you the further steps in the Part 4.