Install Hyper-V for Building a Private Cloud - Part 7
In the previous part, I demonstrated how to install the Self Service Portal and now, I will continue with its configuration process. The Self Service Portal is the fundamental element of our cloud strategy as it fulfills all the needs that we require to underpin a private cloud infrastructure. Since we have completed the process, we can now move on to configure the Self Service Portal.
Steps to Configure VMM Self Service Portal
Step 1:
When you start the VMM Self Service Portal, you will need to login to the Portal with the domain administrator credential detail. We still have some pending set up work to do, so it would be better if you login as an administrator. After you login, you will be taken to the SSP configuration page.
Step 2:
Now, in the screen you will find an option asking you to specify the fully qualified domain name of your SCVMM server. Once you enter the domain name, go down to the Active Directory column where you can specify multiple domain names. If you want to specify multiple names, then enter it and separate it using commas as mentioned in the screen.
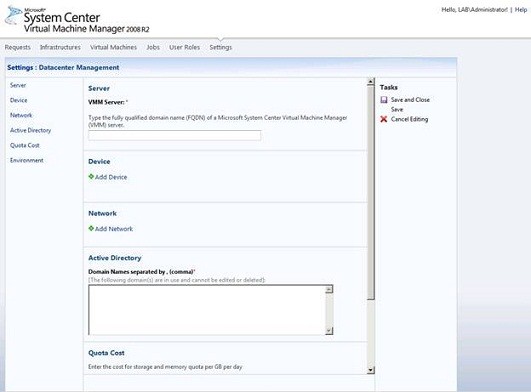
Step 3:
Next, drop down to the Environment section where you need an environment before you continue with the process. Click on Add an Environment, enter an environment name, and then click Submit to complete the process.
Step 4:
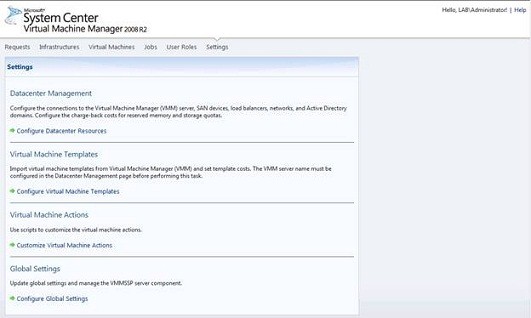
After submitting all the details required, click Save and then Close. In the next step, you will be guided to the Settings page.
Creating a Virtual Machine Template
Now, before we go ahead with our configuration process, we need to build Virtual Machine Templates from the existing virtual machine. In the previous part of this series, I showed you the process of building deployment images and now, all we need to do is convert our images into VM templates. Since we have installed the SCVMM, we need to make it aware of our Hyper-V host. Here is how to do it:
Step 1:
Start the VMM console and select Host.
Step 2:
Click Add Host and then, the screen will prompt you to add all of your Hyper-V Host.
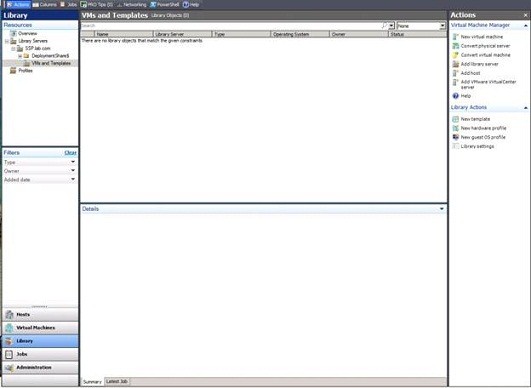
Step 3:
Once you have added the Hyper-V Host, now move on to the Library tab and then click the Library Server -> Your Server -> Your Deployment Share -> VMs and Templates.
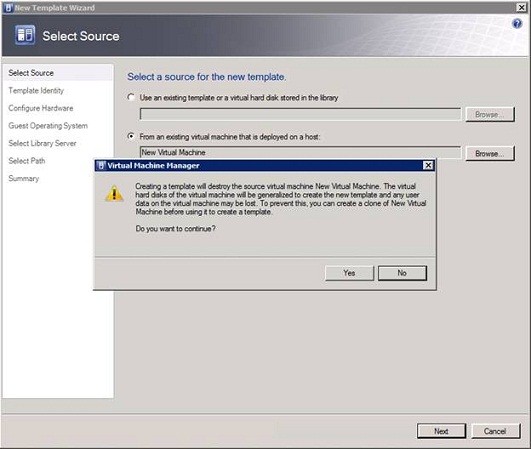
Step 4:
Now, you will be taken to the Select Source page. Select the option ‘From an existing virtual machine that is deployed on the host’ and click on ‘Browse.’
Step 5:
After clicking browse, a Select VM Template Dialog Box will pop-up where you need to select the virtual machine and then click OK.
Step 6:
You will find a warning message on the screen like shown in the image that asks your confirmation on converting the images into templates. Go ahead and click Yes.
Step 7:
On this page, you will need to provide a name to the VM template. After providing a name to it, click Next. You will be taken to a configuration hardware page. Click Next to continue.
Step 8:
The screen will ask you to generate a hardware profile. Since we do not have one, we will have to create a new one. Specify the hardware that you wish to allocate to the VM template and click Next.
Step 9:
Now, select your Library Server and click Next.
Step 10:
Choose the path on the Path page where you want to store your template and click Next. Finally, the template will be created.