Install Hyper-V for Building a Private Cloud - Part 6
Till now, we are done with installation of MS System Center Virtual Machine Manager and Administrator Console. We are still in the process of building a private cloud using Hyper-V and in this piece I will explain deploying the Self Service Portal. To take our process of creating the cloud a step ahead, we need to generate the interface that will help deploy virtual machines.
Before we begin the installation process, you need to download the Self Service Portal, which is free add-on and you can do it easily from the web. Also, make sure there are no other programs open and no pending restarts when we begin the process.
Installation of Self Service Portal
Step 1:
After downloading the SSP, double click the set.exe file that will launch the installation process.
Step 2:
On the next page, click Install.
Step 3:
Accept the license agreement and click Next.
Step 4:
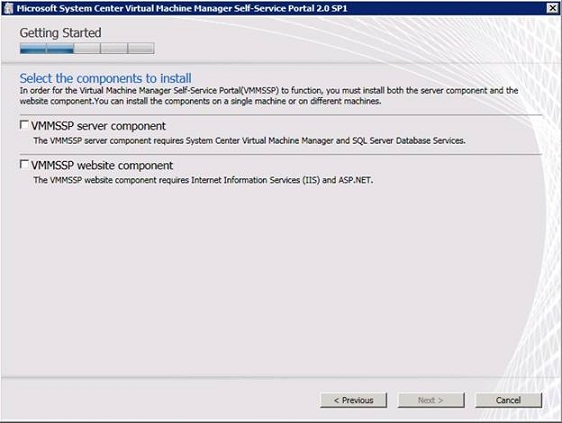
In this page, you need to select whether you want to install the VMMSSP server component or the VMMSSP website component. Choose the component you want and click Install.
Now, if you check the image above, you will find that there are certain requirements to install the two components. The VMMSSP server requires the System Center Virtual Machine Manager and the SQL server Database. Since we have already installed the SCVMM previously, you must have it running. However, the VMMSSP website component requires Internet Information Services (IIS) and ASAP.net and since we do not have these running, we will have to install it before we continue with the SSP Installation. Here, I will demonstrate the
process to Install IIS.
Step 1:
Open Server Manager, then choose Roles Manager and Click on Add Roles.
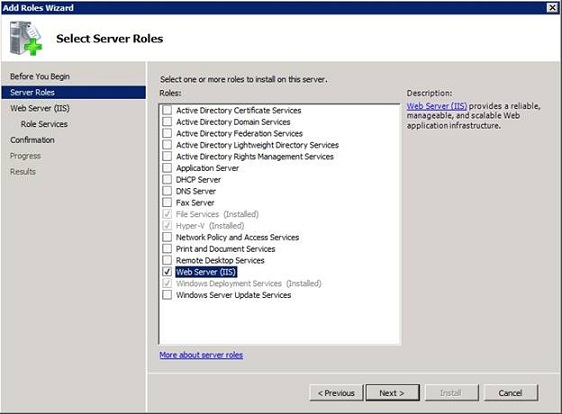
Step 2:
Now click on Server Role, select the Web Server (IIS) and then click Next.
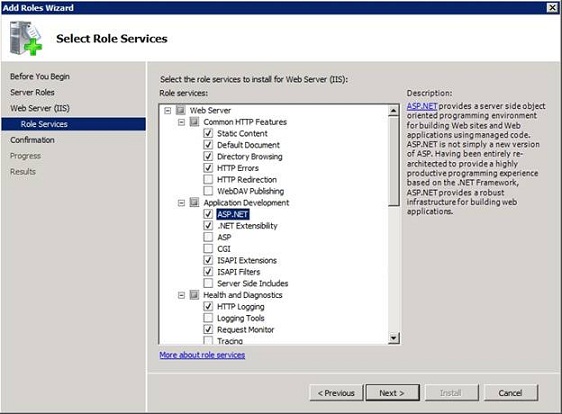
Step 3:
In the next page, you will land in the Roles Services section wherein you will have to select ASAP.net. Choose the option and click Next. Along with the ASAP.net, consider selecting the IIS 6 Management Server Role, its sub component and also Windows Authentication role service and then click Next.
Step 4:
Review the summary of the components that you just entered and then click Install.
Step 5:
When the Installation completes, click close.
Continuation of Self Service Portal Installation
Step 5:
Now, start the installation wizard, select both the components and click Next.
Step 6:
In this page, you will have to mention the installation path. However, you can go with the default path and click Next.
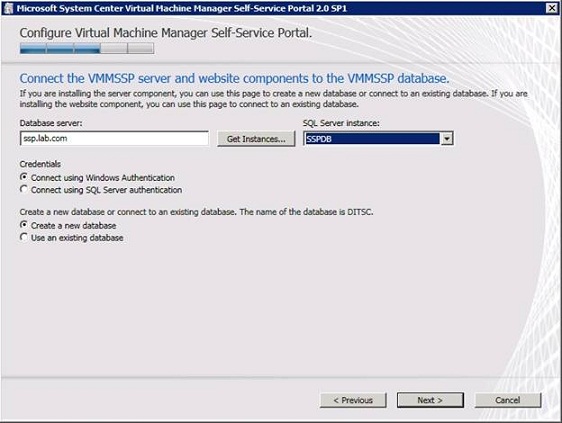
Step 7:
Now, you need to provide the name of your database server. You can either go for Connect using Window Authentication or select Create a new database. Choose either of the two and click Next.
Step 8:
Now, you will have to provide an account for the server component. Provide a service account and click Next.
Step 9:
Here, you will have to provide a server name but, you can choose to go with default name. Choose a name and click Next.
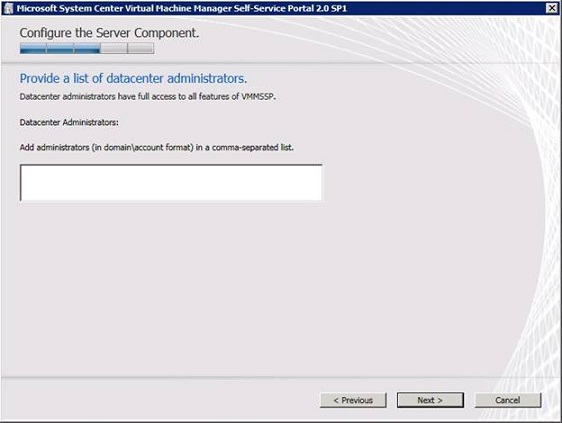
Step 10:
This page will ask you to mention a list of your Data Center administrators, who will have complete access to the SSP and its features.
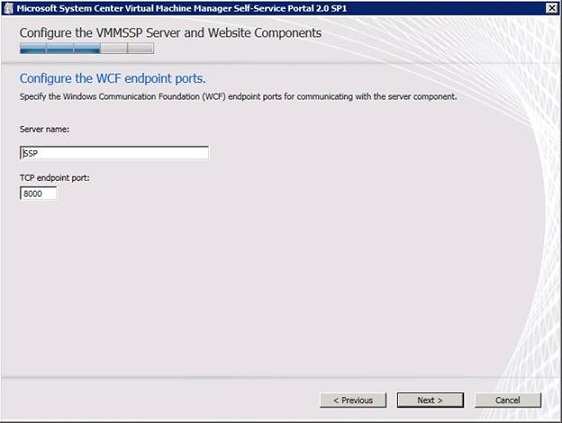
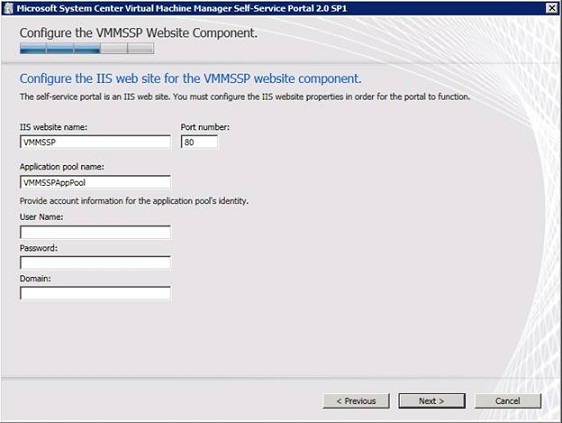
Step 11:
Now you need to specify IIS website name and the port number.
Step 12:
Finally, review your summary screen listing and go ahead and hit Install.
Step 13:
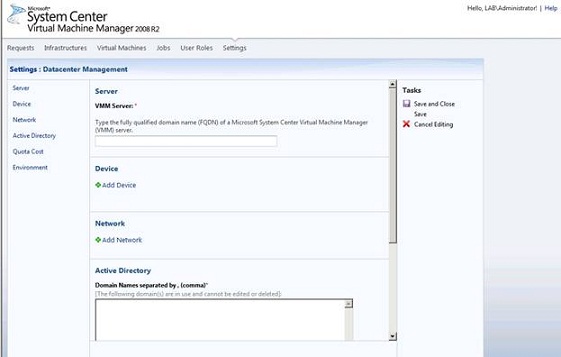
After completing the installation process, you will now have to configure the SSP. Once you are done with it, you can start using the service.
Now that we completed the Self Service Portal Installation, part 7 of the series will see the process to step to configure the portal.